
Welcome To...
Fluffy Pembroke Welsh Corgis Home
We're absolutely delighted to have you here
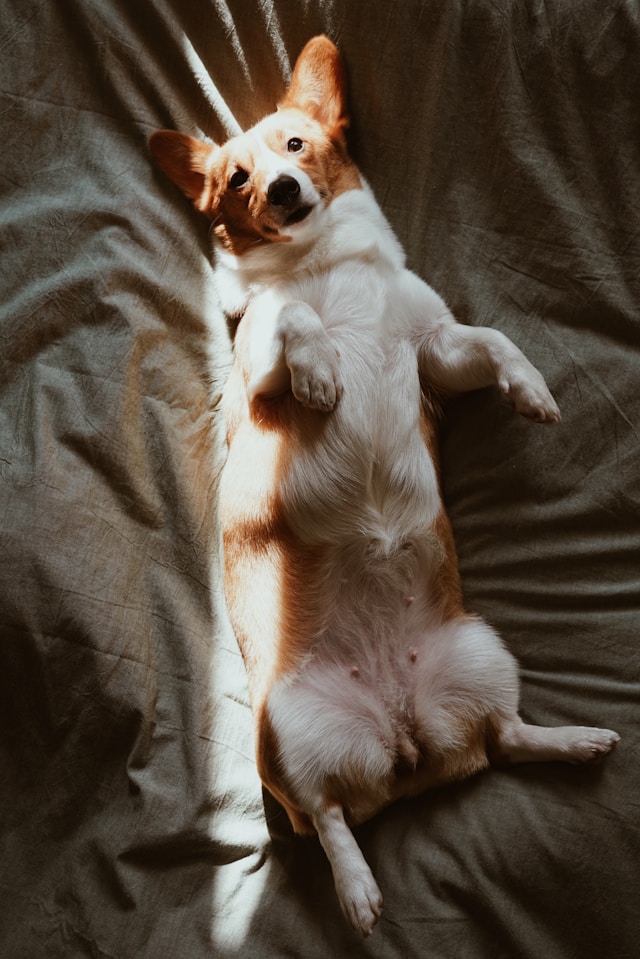
Welcome to Fluffy Pembroke Welsh Corgis Home, where adorable meets affectionate in every furry bundle! At our home, we pride ourselves on breeding exceptional Pembroke Welsh Corgis who are not just pets but beloved family members.
With a passion for these charming little dogs, we strive to provide the best possible environment for our corgis, ensuring they are healthy, well-socialized, and ready to bring endless joy into their new homes. Our commitment to responsible breeding practices means that each puppy is raised with love and care, resulting in well-adjusted companions with delightful personalities.
Whether you're a seasoned corgi enthusiast or new to the breed, we're here to guide you through every step of the adoption process. From helping you find the perfect match to offering ongoing support and advice, we're dedicated to making your experience with us as seamless and rewarding as possible.
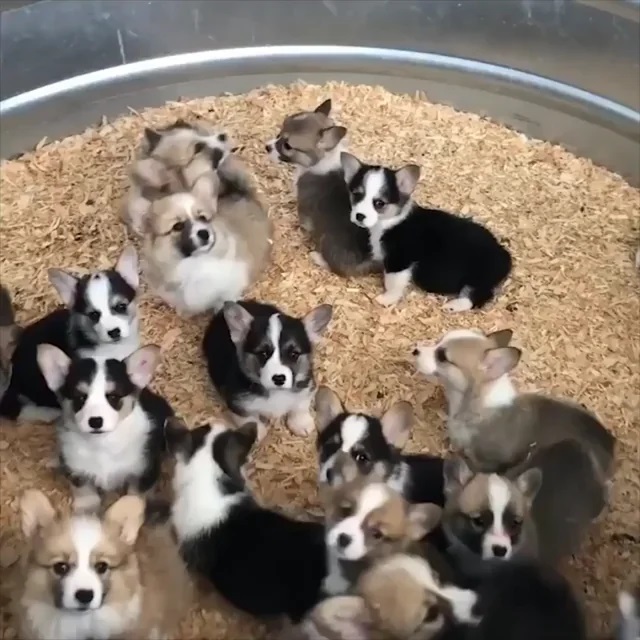
Browse through our website to meet our current furry residents, learn about our breeding philosophy, and discover why Fluffy Pembroke Welsh Corgis Home is the premier destination for anyone seeking a loyal and lovable corgi companion.
Join our corgi-loving community today and embark on a journey filled with wagging tails, wet kisses, and unforgettable memories. Welcome to the Fluffy Pembroke Welsh Corgis Home family!
-

Bella Female
Pembroke Welsh CorgiRead moreName:Bella
Breed:Pembroke Welsh Corgi
Age: 10 weeks
Sex:Female
Price: $560
Vaccination Up to Date
Potty Trained, Registration Papers
Veterinarian examination
Health certificate, Health guarantee
Pedigree, Travel crate -

Benny Male
Pembroke Welsh CorgiRead moreName:Benny
Breed:Pembroke Welsh Corgi
Age: 10 weeks
Sex:Male
Price: $560
Vaccination Up to Date
Potty Trained, Registration Papers
Veterinarian examination
Health certificate, Health guarantee
Pedigree, Travel crate -

Curry Female
Pembroke Welsh CorgiRead moreName:Curry
Breed:Pembroke Welsh Corgi
Age: 10 weeks
Sex:Female
Price: $560
Vaccination Up to Date
Potty Trained, Registration Papers
Veterinarian examination
Health certificate, Health guarantee
Pedigree, Travel crate -

-

Katsu Male
Pembroke Welsh CorgiRead moreName:Katsu
Breed:Pembroke Welsh Corgi
Age: 10 weeks
Sex:Male
Price: $560
Vaccination Up to Date
Potty Trained, Registration Papers
Veterinarian examination
Health certificate, Health guarantee
Pedigree, Travel crate -

Lokey Male
Pembroke Welsh CorgiRead moreName:Lokey
Breed:Pembroke Welsh Corgi
Age: 10 weeks
Sex:Male
Price: $560
Vaccination Up to Date
Potty Trained, Registration Papers
Veterinarian examination
Health certificate, Health guarantee
Pedigree, Travel crate -

Lovy Female
Pembroke Welsh CorgiRead moreName:Lovy
Breed:Pembroke Welsh Corgi
Age: 10 weeks
Sex:Female
Price: $560
Vaccination Up to Date
Potty Trained, Registration Papers
Veterinarian examination
Health certificate, Health guarantee
Pedigree, Travel crate -

Romeo Male
Pembroke Welsh CorgiRead moreName:Romeo
Breed:Pembroke Welsh Corgi
Age: 10 weeks
Sex:Male
Price: $560
Vaccination Up to Date
Potty Trained, Registration Papers
Veterinarian examination
Health certificate, Health guarantee
Pedigree, Travel crate -

Winner Female
Pembroke Welsh CorgiRead moreName:Winner
Breed:Pembroke Welsh Corgi
Age: 10 weeks
Sex:Female
Price: $560
Vaccination Up to Date
Potty Trained, Registration Papers
Veterinarian examination
Health certificate, Health guarantee
Pedigree, Travel crate
Health Guarantee
Worldide Shipping
Moneyback Guaranee
Sameday Shipping
Puppies With High IQ
Perfect Companion
Why Choose Us
- Quality Breeding Standards: At Fluffy Pembroke Welsh Corgis Home, we uphold the highest standards in breeding practices. Our priority is to produce healthy, happy corgis with excellent temperaments, ensuring they make wonderful companions for years to come.
- Exceptional Care: We provide top-notch care for our corgis from birth until they join their new families. Our puppies are raised in a loving home environment, receiving plenty of socialization and attention to nurture their development.
- Personalized Attention: When you choose us, you're not just getting a puppy; you're joining our extended family. We offer personalized support and guidance throughout the adoption process and beyond, ensuring a smooth transition for both you and your new furry friend.
- Transparent Process: We believe in transparency every step of the way. From health screenings and vaccination records to pedigree information, we provide all the necessary details to give you peace of mind when welcoming a corgi from us into your home.
- Commitment to the Breed: As passionate enthusiasts of the Pembroke Welsh Corgi breed, we are dedicated to preserving its unique characteristics and maintaining breed standards. Our commitment shines through in the quality of our corgis and the love we have for what we do.
The love they share is priceless as the years unfold
Our Client's Reviews

"I couldn't be happier with my experience at Fluffy Pembroke Welsh Corgis Home. From the moment I reached out to inquire about a puppy, their professionalism and care were evident. My little buddy, Max, has brought so much joy into my life. Thank you for breeding such wonderful companions!"
Sarah Thompson, California

"As a first-time dog owner, I was nervous about finding the right breeder. Fluffy Pembroke Welsh Corgis Home was recommended to me by a friend, and I'm so grateful. My corgi, Luna, is not just a pet; she's family. I can't thank them enough for their dedication and love for these amazing dogs."